/ / DIY Hollow Book / /
{Post By Madi}
Hello Blog Friends!
I know that here at TLM that we usually focus on book reviews and giveaways, but I thought that it might be fun to do a book related craft, just to mix things up. I've seen a few tutorials on Pinterest on how to make those nifty secret books to keep little treasures in, and I decided to do my own rendition of it. Here's what you will need:
- An Old Book (I used an old discarded library book that I got for fifty cents).
- A Ruler.
- A Pencil
- An Eraser (or you could just use the one at the end of your pencil. I just like using my big one)
- A Box Cutter/Exacto Knife (most people find it easier to use a box cutter, but if you don't have one on hand I'm sure the Exacto Knife will work fine).
- Liquid Elmer's Glue.
- A Small Paint Brush (I just used an old eyeliner brush. It worked great! Just make sure it's clean before you start your project if you decide to go that route).
- A Small Container To Make Your Glue Solution (I opted for an old Hormel bowl).
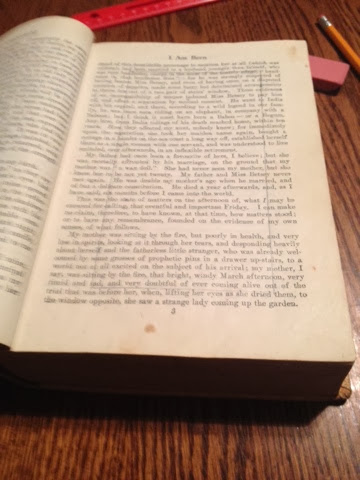
Start with your book. Open it up to the page that you want to cut (leave a few pages, I'll tell you why later)
Next, get your ruler and draw a line the width of your ruler on all four sides.
When you're done it should look something like this.
Get your handy-dandy eraser and erase the lines in the corners, leaving the box in tact.
Like So.
Now t's time to mix up your glue solution. Mix seventy-five percent glue and twenty-five percent water. Stir it all up.
Next, lay the book on its spine so that you can easily paint the glue on without it dripping on everything.
Slather your glue on all four sides so that everything stays together while you're cutting. This also gives your little hidey hole the consistency that it needs to hold all of your little goodies.
Next glue the back page to the back cover.
Close the book and let the glue dry COMPLETELY. You'll want to use something to keep the pages that you have set aside from the rest of the book apart from your glued pages so that they don't get glued with the rest of the book. I used my eraser and ruler, but you can use whatever you like. I know that someone said that post-it notes work great. I also ended up stacking up a couple of heavy books on top of it while it dried.
Once the glue is dry, you're ready to start cutting. Take your box cutter and start cutting along the lines that you drew earlier.
This is where the fun starts.
Getting all of these pages cut out is a very long and tedious process. Get your favorite Pandora station going to keep you going.
Just keep swimming . . .
Voila!
Once you have all your pages cut out, use your glue solution on the inside pages. I also did another coat on the outside because all the cutting and tearing had dismantled a few of the pages.
Now put a layer of glue on the top page.
Close the book and let the glue dry COMPLETELY. Stack a few books on it to make it dry as tight as possible.
Once it's dry, cut out the top page.
And there you go! You have a very sneaky place to hide a cash stash, candy from the little ones in your home, or anything else that you can think to stuff in there. I hope that you found this helpful! If you decide to take on a book craft, comment! We love hearing from y'all!
~The Literary Maidens


No comments:
Post a Comment
Thank You For Commenting! Please make sure that you use clean language, as all comments will be monitored before being published.